GAP Control.
Marca

A reliable method of measuring the contact between screw head and work piece surface
Sometimes it is not sufficient to check torque and torque angle in order to eliminate faulty connections. For these cases STÖGER AUTOMATION has developed the measuring method GAP Control. Possible sources of faulty connections may be burrs in the screw thread or on the work piece, measuring or manufacturing tolerances of threads, work piece height or friction in the thread, for example. When self-tapping screws are used in cast metal parts these potential sources of error can easily add up and can’t be monitored adequately with indirect measuring methods.
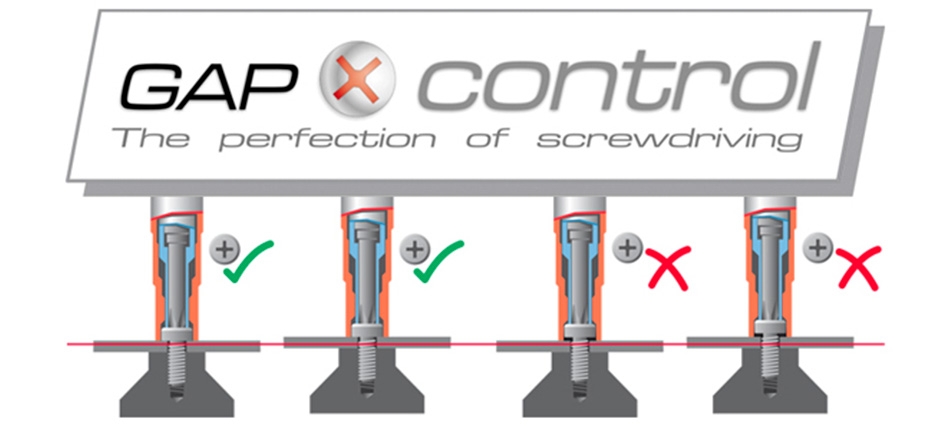
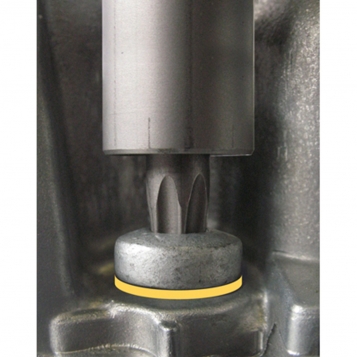
GAP Control is a system that measures whether the screw head really has contact with the work piece surface. This technique checks not only torque and torque angle but also the screw head height. After the screw has been tightened the distance between work piece surface and screw head is measured. By comparing these values any gap between screw head and surface is detected and the NIO part can be removed. By combining both test methods the probability of errors is practically eliminated.
Why GAP Control?
Torque reached, angle reached.
But is the screw head actually in contact with the workpiece?
Only GAP Control gives a clear answer!
Sources of errors in screwdriving processes
. Fin on the thread of the screw or workpiece
. Dimension or manufacturing tolerances of threads
. Tolerances in workpiece height
. Different thread friction
Self-tapping screws in cast metal are a good example for a possible accumulation of error sources. They cannot be adequately controlled with indirect measuring methods such as torque and angle.
The various sources of error require a suitable tolerance window when setting, for example, the pre torque or the final angle.
The GAP Control process eliminates these tolerances.
Function
In addition to standard torque/angle assessment, the new GAP Control screwdriving process detects the height of the screw head and individually calculates the screwdriving depth in relation to the workpiece level.
Calculating the head contact
The new dimension in assessing screwed assembly!
- In combination with a torque-angle controlled screwdriving process, the error rate is minimized.
- Measuring the height of the workpiece eliminates the last source of error.
Your advantage
Documented reliability is achieved by directly measuring the screw head’s contact to the workpiece.
In combination with a torque-angle controlled screwdriving process, the error rate is almost zero!!


